Track your Project’s Documentation Views
This playbook will guide you through the steps to set up and embed a Scarf Pixel on your documentation pages, README files, or any other web properties associated with your project, in this case we will focus specifically on documentation. Scarf Pixels enable you to gain visibility into who’s reading your documentation—an essential part of understanding your audience, their level of interest, and where they are in the Open Source Adoption Funnel.
Add a Scarf Pixel
Overview
This playbook will guide you through the steps to set up and embed a Scarf Pixel on your documentation pages, README files, or any other web properties associated with your project, in this case we will focus specifically on documentation. Scarf Pixels enable you to gain visibility into who’s reading your documentation—an essential part of understanding your audience, their level of interest, and where they are in the Open Source Adoption Funnel.
Why track documentation? Documentation views signal a deeper level of interest and intent, helping you spot users who might be ready for a more serious conversation about your commercial offerings. These insights can guide your outreach, content strategy, and sales funnel, allowing you to target high-value users more effectively and better understand your community.
What you’ll need
- A Scarf account (sign up for free). You can sign up with a valid email address or your GitHub account.
- Access to your documentation page’s source code or website editor, where you’ll embed the Scarf Pixel snippet.
Step 0: Create an Organization
This step is optional but recommended. While you can create pixels, packages, and event collection instances individually, joining an organization allows you to share analytics with your team in the future. For best results, we suggest creating an organization first, even if you don’t plan to share the data you collect in the short term.
To create an organization, in the header menu, click on Organization.

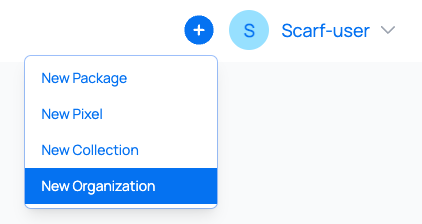
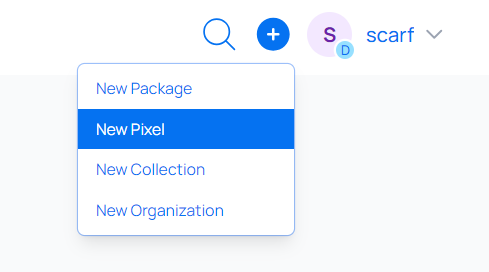
Alternatively, you can access it via the + icon and selecting New Organization.
If you haven’t already set up an organization, you will be presented with the following screen:
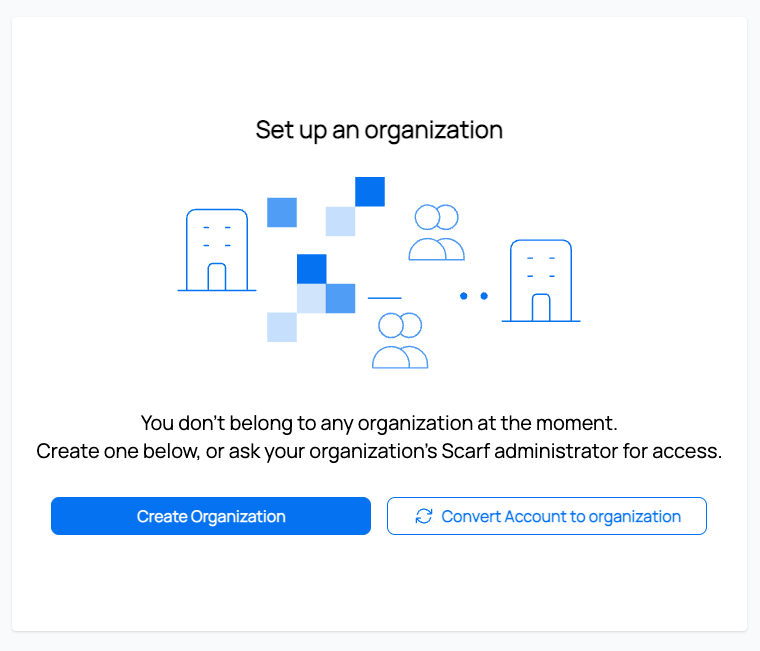
As you can see, there are two options:
- Create Organization: Select this option if you want to create a freestanding organization.
- Convert Account to Organization: If it happens that you’ve added lots of new packages and found that you’d like to put these under an organization umbrella, this is the perfect way to achieve that. By doing this, you will be able to share data from Scarf Packages and Pixels you’ve created with others within your organization.
For this playbook, we will be creating a new organization. You can learn more about converting your account to an organization in our documentation.
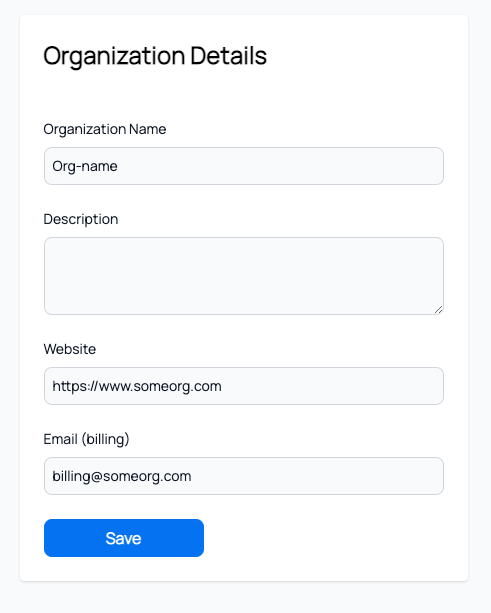
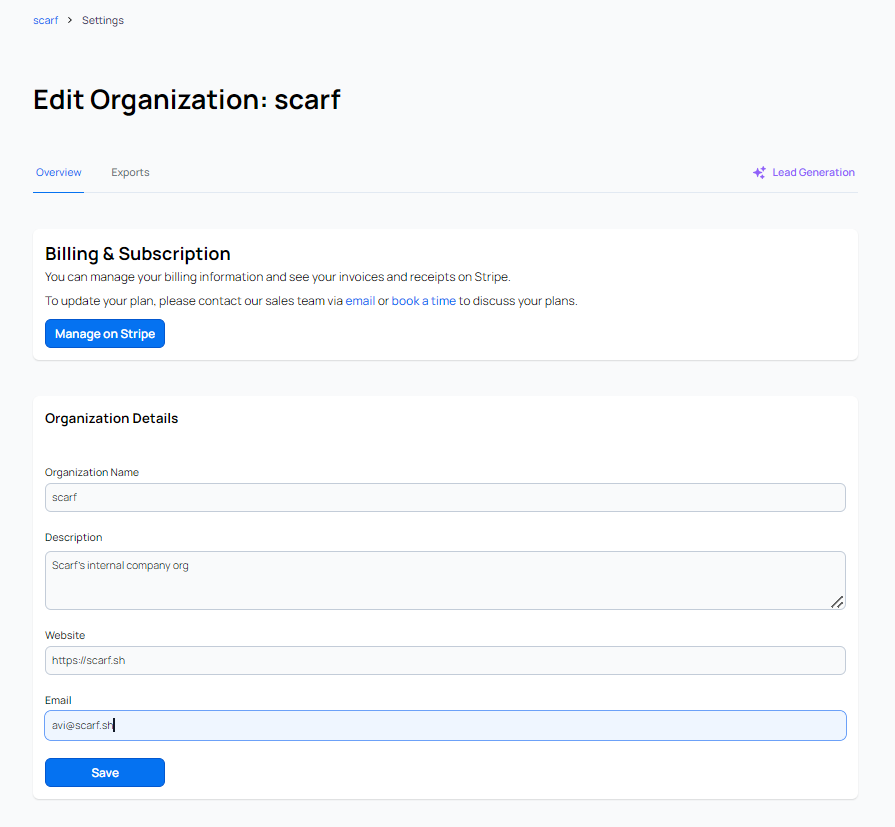
After clicking on Create Organization, add your organization details. Click Save.
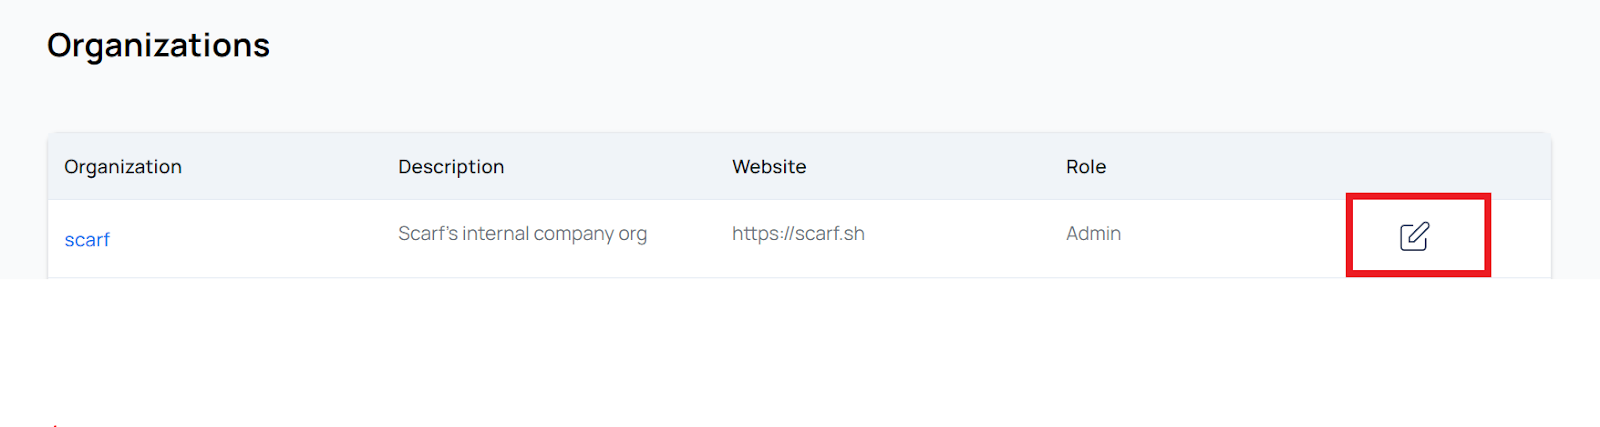
You now have an organization you can edit by clicking Organizations, and then selecting the pencil icon.
Pro Tip: Opt for an organization name familiar to you and potential members. Your company or project name is often the most recognizable choice. If you choose to utilize Scarf-provided domains in the future, this organization name will be utilized as part of the public-facing domain (e.g., mydomain.gateway.scarf.sh), so choose wisely!
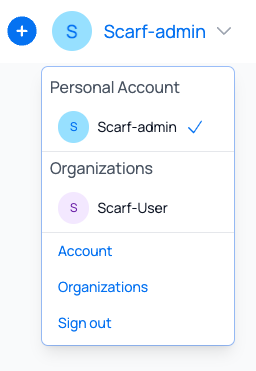
To access your new organization, click Organizations in the Scarf App top navigation bar.

Alternatively, click the dropdown menu in the upper right corner and select your organization.
You will now be able to create Scarf Packages and Pixels within your organization and access them whenever you want.
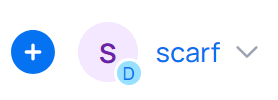
Pro Tip: When looking at the menu in the upper right corner, you will now see two circles. The larger being what organization you are accessing and the smaller one being the user you are doing it with.
Step 1: Create a new Pixel in Scarf
Click the plus icon in the top navigation and choose New Pixel. Give your Pixel a name, select which of the organizations you belong to will be the Owner to manage its scope. We recommend selecting as Owner the Organization you previously created.
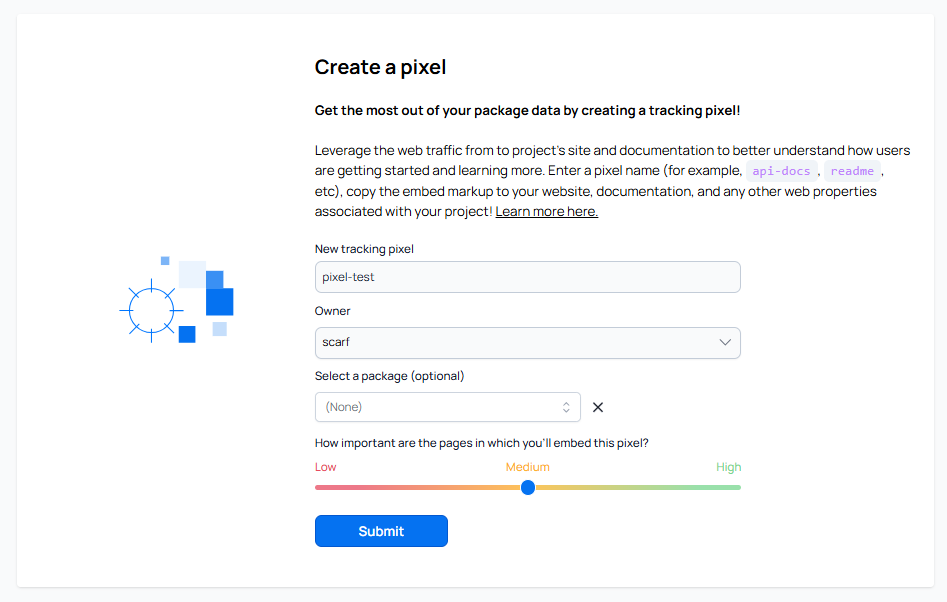
Pro Tip: Correlation is king. You can optionally attach your new pixel to a package you manage on Scarf. This allows you to see different interactions under the same signal. For example, you can connect your project’s download package to a pixel on your documentation page. By doing this, you can track both interactions in the same Dashboard and see which companies are downloading your project AND viewing your documentation, creating a correlation between the two.
Pro Tip: All new pixels default to “Medium” importance. It’s a good idea to let Scarf start capturing data before determining if that needs to change.
Once created, you can access this Pixel in the Tools dropdown, under Pixels. Here, you will see a full list of all your existing Pixels.
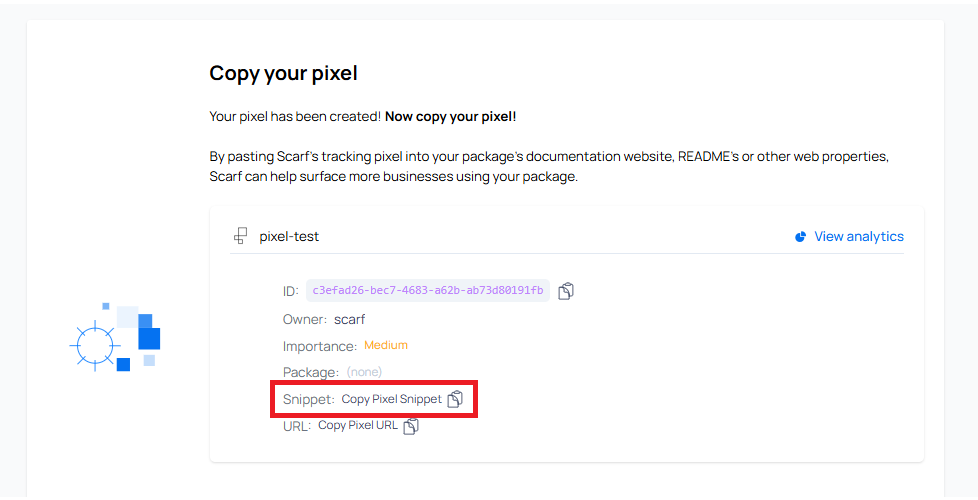
Step 2: Copy your Pixel snippet
Copy Pixel Snippet to grab the code.
Step 3: Embed the Pixel snippet in your documentation
Paste the Pixel snippet into the HTML of your documentation pages. If you’re working on GitHub or GitLab, add it to the <head> or footer section of your documentation page.
# Project Informationsite_name: Scarf Documentationsite_description: | Scarf's Technical Documentation & API Referencecopyright: Copyright © 2019 - 2024 Scarf Systems, Inc. Step 4: Confirm and test your new Pixel
Save and publish the changes to your documentation or website. Visit the pages where you added the Pixel snippet to confirm it’s working as expected. You’ll know the pixel is working properly when you see activity on the Scarf Dashboard.
Pro Tip: It may take a few minutes for data to start appearing in your Dashboard. If there are any issues, check Scarf’s documentation, reach out through the in-app chat, post a question in the community Slack, or book a meeting for additional support.
Step 5: Monitor Engagement Data in the Scarf Dashboard
Once your Pixel is active, you can track data on which companies are viewing your documentation, where they’re located, and how frequently they engage with your project. Now that you’re tracking documentation views, it’s time to put this data to work.
Tracking documentation views gives you an entirely new perspective on your project’s audience. It reveals which organizations are engaging deeply with your resources, helping you prioritize leads, refine your marketing strategy, and even shape your content development.
Companies like CopilotKit use Scarf Pixels to uncover valuable insights into their open source communities. Tracking documentation views allows them to identify which organizations are engaging with their content, helping them focus outreach efforts and target high-value customer segments.
For Diagrid, maintainers of Dapr, Scarf Pixels are an essential part of their strategy. By analyzing data from documentation views, they can pinpoint which organizations are most active and better align their go-to-market efforts. At the same time, the Dapr community uses these insights to understand which resources users rely on most, enabling them to prioritize improvements that benefit everyone.
Scarf Pixels alone can provide extremely valuable insights for companies looking to better understand their open source project’s usage. Tracking documentation views offers key information about how users are interacting with your project, which features are most popular, what companies might be using your project in production, and more. While tracking downloads can complement these insights, documentation views are a powerful signal in their own right—showing stronger user intent and providing actionable data to refine your open source strategy.
To learn more about how the Scarf Pixel works and the kind of data it tracks, visit the Scarf documentation.
Sync Scarf Data with Salesforce
Keeping your Salesforce accounts in sync with Scarf’s company data gives your team a clearer picture of how organizations are engaging with your open-source project.
Track More Companies with your Scarf Account
Monthly Tracked Companies (MTCs) are the organizations actively engaging with your open source project. This includes downloads of your packages, views of your documentation, and any other type of interaction with your software. Scarf identifies and surfaces these organizations so you can better understand your audience and prioritize outreach.
Integrating Scarf Data with Your Analytics Tools
Exporting data tracked by Scarf is essential for analytics, reporting, and integration with other tools. Scarf adds open-source usage metrics to the data you already collect, giving you a fuller picture of how your project is used. This helps you monitor trends, measure impact, and make better data-driven decisions.